
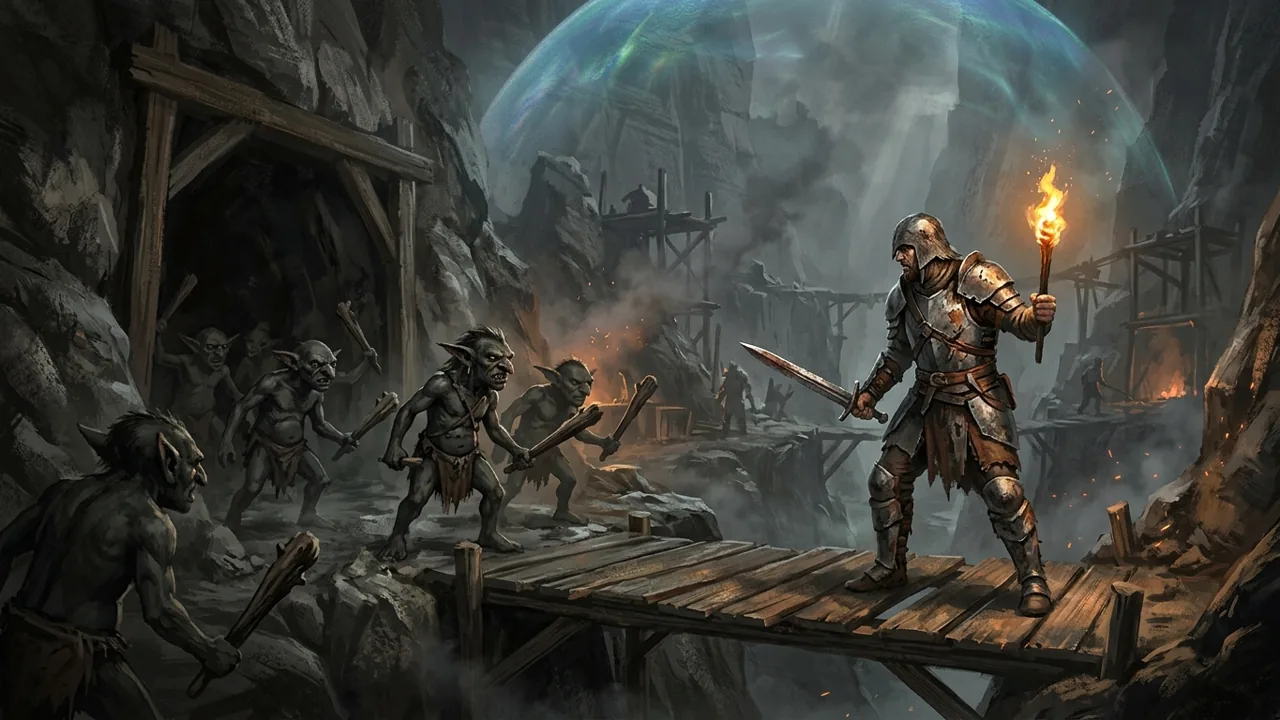
The quest to retrieve the stolen Almanac in Chapter 2 is a notorious rite of passage for anyone trying to survive the harsh reality of the colony. Cor Kalom, the highly demanding and eccentric alchemist of the Swamp Camp, outright refuses to proceed with the grand Sleeper invocation until you bring him two specific items: the Minecrawler Queen’s eggs and an obscure magical text detailing how to properly extract their essence. While you handle the heavy lifting in the Old Mine for the eggs, a novice named Talas was simply supposed to walk to the Old Camp and buy the book. Unsurprisingly, Talas bungled the job and lost the book to a pack of Black Goblins on his way back. Recovering the text is your problem now.
Navigating the Black Goblin cave introduces players to one of the most aggressive enemy variants in the entire valley. These creatures are small, incredibly fast, and hit surprisingly hard when they attack in groups. They will quickly drain your health if you rely on slow weapon swings without proper spacing and stamina management. This walkthrough explains exactly how to locate Talas, survive the infamous bridge crossing, clear the cave of loot, and return the Almanac to Kalom. Additionally, we will cover a newly reported community bug that could permanently lock you out of a major late-game armor set if you happen to explore certain endgame areas too early.
Finding Talas in the Swamp Camp
After delivering the Minecrawler eggs, Cor Kalom immediately assigns you the task of finding the missing Almanac. He directs you to speak with Talas, the novice responsible for the disaster, who supposedly knows exactly where the ambush took place.
You can find Talas lingering nervously in the main courtyard of the Swamp Camp, usually standing near the lower path leading toward the temple plaza where the gurus preach. When confronted, he immediately admits that he was ambushed by Goblins and fled in sheer panic, abandoning the expensive text in the mud. He reluctantly agrees to show you the location of the attack, but he makes it abundantly clear that he has absolutely no intention of drawing his weapon or fighting alongside you.
Escorting Talas is relatively smooth thanks to the modernized NPC pathfinding in the Remake. He will jog ahead of you, leading you out of the swamp and toward the northern rock formations. Make sure you keep pace with him. The path is usually completely safe if you already killed the local Bloodflies and Swampsharks during your earlier exploration of the region, but keep your weapon drawn just in case a stray scavenger or wolf wanders onto the trail.
Talas will eventually stop dead in his tracks in front of a narrow, suspended wooden bridge crossing a deep gorge. This is where you part ways. He claims the goblins are waiting just on the other side, and his courage ends at the wooden planks. You have to cross the bridge alone.
Combat Tactics: Surviving the Black Goblins
Black Goblins are not your average scavengers or molerats. In the original 2001 release, their attack speed made them a frustrating stunlock hazard that resulted in many broken keyboards. Alkimia Interactive has updated their behavior in the Remake to be far more tactical. They will attempt to swarm you, actively using their numbers to surround you while attacking from multiple angles at once.
If you are running a standard melee build, managing your stamina and spacing is paramount. Weapons and armor play a massive role here. A two-handed weapon, or a one-handed sword with a long reach, allows you to catch multiple goblins in a single horizontal swing. If you let them get inside your guard, their rapid club strikes will interrupt your attack animations, leaving you entirely defenseless and rapidly bleeding out.
A highly effective tactic is to use the wooden bridge as a natural chokepoint. Step off the bridge just far enough to aggro the first pack of goblins, then immediately backpedal toward Talas. The goblins will try to follow you across the narrow planks, forcing them into a single-file line. You can safely pick them off one by one as they run toward you, completely negating their numerical advantage and protecting your flanks.
For players focusing on rune magic, a simple Firebolt or Fireball scroll can eliminate a goblin in a single hit. The casting time is the only real risk, so make sure you have enough distance before charging the spell. Ranged builds using bows or crossbows are also viable, but since the Remake features a realistic stagger mechanic, trying to aim while a goblin is beating your shins is a fast track to the game over screen. Fire a few shots to thin the herd, then swap to your melee weapon.
Exploring the Cave and Retrieving the Almanac
Once the exterior guard pack is dead, you can safely step off the bridge and enter the cave. The interior is heavily shadowed, so lighting a torch or casting a Light spell is highly recommended so you do not stumble into another ambush. The cave system is essentially a linear path that opens into two larger, distinct chambers.
The first chamber serves as a makeshift camp for the goblins. You will find a smoldering fire pit and several more enemies waiting. Use the exact same chokepoint strategy here—lure them back into the narrow tunnel connecting the entrance to the chamber. Once they are dealt with, take a moment to scavenge. You can usually find ore economy staples like loose ore nuggets, old coins, and rusty swords scattered among the bones and debris. Every piece of scrap matters when you are saving up for your next heavy armor upgrade.
Proceed deeper into the final cavern. This is where the largest pack resides, accompanied by a tougher Black Goblin variant that boasts a slightly larger health pool and hits significantly harder. Clear the room carefully, utilizing blocks and dodges to manage the aggro.
At the very back of this chamber, you will spot an old, half-looted wooden chest. The Almanac is sitting inside. Grab the book, along with any minor healing potions or lockpicks stored next to it. Before leaving, check the dark corners of the room for wild mushrooms and healing herbs, which are always useful for brewing your own potions later.
Returning to Cor Kalom and Chapter 3 Progression
With the Almanac secured, backtrack out of the cave and cross the bridge. Talas will still be standing exactly where you left him, visibly relieved that you survived the ordeal. He will immediately turn around and run back to the Swamp Camp. You do not need to escort him back; he cannot be killed by wildlife during this specific sequence and will make it home safely.
Fast travel or sprint back to Cor Kalom’s alchemy lab. Handing over the book completes the quest and rewards you with a hefty chunk of experience points, enough to likely grant you a few extra learning points and skills. You can also ask Kalom for a physical reward for your troubles. He will offer you a choice between a bundle of raw ore, some mid-tier offensive spell scrolls, or a permanent mana potion. Always take the permanent potion if you are playing any form of magic user, as permanent stat boosts are incredibly rare in the early chapters of the game.
With the eggs and the book acquired, you are now ready to witness the great invocation of the Sleeper. This massive narrative event moves the game into Chapter 3, which eventually leads you across the colony hunting down artifacts like the Mountain Fortress focus stone.
Warning: The Sunken Tower Progression Bug
While we are discussing main quest progression and exploring the colony, the community has recently flagged a severe bug related to sequence breaking in the Remake. Players attempting an “Overachiever run” have discovered that entering and clearing Xardas’ Sunken Tower too early in the game will completely break vital late-game triggers.
A prominent report on the Gothic Remake subreddit details a situation where a player successfully cleared the Sunken Tower during Chapter 1. Fast forward to Chapter 5, when the player needed to retrieve the Ancient Ore Armor from Gomez in the Old Camp. The player intended to earn the newly added “Spare Gomez’s Life” achievement by resolving the conflict peacefully. However, because the Sunken Tower was cleared entirely out of sequence, Xardas failed to mention the armor during dialogue, and confronting Gomez only offered the dialogue option to attack and kill him.
The current consensus is that looting the sunken tower before Xardas explicitly sends you there in the late game breaks a critical narrative flag. The game assumes you have already progressed past the Gomez confrontation if the tower is empty, thereby removing the dialogue options required for the achievement.
If you are planning to fully complete the game, earn all achievements, or simply want to see the peaceful resolution with Gomez, stay far away from the lake containing the Sunken Tower until Chapter 5. Alkimia Interactive has pushed several hotfixes recently, but this specific sequence break remains unpatched at the time of writing. Stick to the intended path, complete the Almanac quest normally, and save your extreme exploration for the final chapters.